DIY Fence Installation Tips for New Bedford Homeowners
Are you a New Bedford homeowner looking to enhance your outdoor space with a new fence? This comprehensive guide is tailored for you. We’ll walk you through the entire DIY fence installation process, from understanding your fencing options unique to New Bedford yards, to measuring and planning, gathering tools and materials, and step-by-step instructions for building your own fence. By the end, your backyard will be transformed with a secure, stylish barrier that reflects your style.
- Understanding Your Fence Options for New Bedford Yards
- Measuring and Planning for Successful Fence Installation
- Gathering Necessary Tools and Materials
- Step-by-Step Guide to DIY Fence Building
- Setting Posts: Ensuring a Solid and Level Fence Line
- Finishing Touches: Topping Off Your New Fence
Understanding Your Fence Options for New Bedford Yards
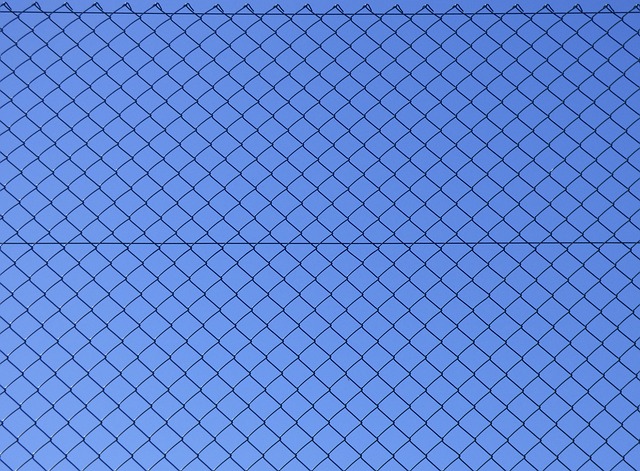
When it comes to fencing your New Bedford, Massachusetts yard, there’s a plethora of options to consider. From traditional wood picket fences to modern vinyl or chain-link varieties, each material offers unique benefits and styles that cater to different preferences and budgets. Understanding these variations is key to making an informed decision. Wood fences exude warmth and charm, requiring regular maintenance but offering natural beauty. Vinyl fences are low-maintenance, durable, and available in a rainbow of colors. Chain-link fences provide security and privacy without the need for frequent upkeep, making them popular choices for active yards or areas needing extra protection.
Measuring and Planning for Successful Fence Installation
Before you start installing your new fence, accurate measurement and planning are key to ensuring a successful project. Begin by visualizing where your fence will be placed and identifying any potential challenges or obstructions in the area, such as trees, utility lines, or existing structures. This step is crucial for avoiding costly mistakes later on.
Next, measure the perimeter of the area where you intend to install the fence using a tape measure. Take note of any curves or corners that need to be accounted for. Creating a detailed plan, including the length and height requirements, will make the installation process smoother and more precise.
Gathering Necessary Tools and Materials
Before you begin installing your new fence, make sure you have all the necessary tools and materials on hand. This will save you time and frustration during the installation process. Common tools include a measurement tape, level, post-hole digger, hammer, and any required hardware like posts, rails, and pickets. Materials typically consist of fencing panels or individual picks, posts, concrete for setting the posts, and fasteners such as nails or screws. Double-check local building codes to ensure you have everything needed for a safe and compliant installation.
Step-by-Step Guide to DIY Fence Building
Building your own fence can seem daunting, but with a well-planned strategy and proper tools, it’s a manageable DIY project for New Bedford homeowners. Start by assessing the perimeter you wish to enclose and gathering the necessary materials: posts, rails, fencing panels (or pre-cut pickets), concrete or mechanical anchors, and any additional hardware like brackets or post caps.
Next, mark out the fence line with string and stakes, ensuring it’s straight and level. Dig holes for the posts, placing them at the desired distance apart and checking that they’re plumb (vertically aligned). Set the posts in place, securing them with concrete to provide a sturdy base. Attach the rails, following manufacturer instructions, and then install the fencing panels or pickets, making sure they’re securely fastened. Regularly check your work as you go for any adjustments needed to maintain alignment.
Setting Posts: Ensuring a Solid and Level Fence Line
When installing a fence, setting the posts correctly is fundamental to achieving a solid and aesthetically pleasing barrier. Begin by examining the intended fence line and marking it clearly with chalk or spray paint. Dig holes for each post, ensuring they are deep enough (typically one-third to half the post’s height) and at least 12-18 inches apart. The holes should be perfectly level; use a level tool to ensure accuracy. Backfilling the holes with concrete is crucial for stability. Allow the concrete to set completely before continuing, as this will provide the necessary support for your fence posts.
Finishing Touches: Topping Off Your New Fence
Once your fence is fully installed and all posts are secure, it’s time to focus on the finishing touches. This includes filling any gaps between pickets or slats with a suitable filler material, such as plastic or wood strips, ensuring a neat and uniform appearance. Additionally, applying a coat of high-quality outdoor paint or sealant will protect your fence from the elements and enhance its longevity. Choose colors that complement your home’s exterior and local regulations regarding fence finishes.
Don’t forget to consider the gateway or entrance to your property. Install a sturdy gate that swings easily yet securely locks for safety and privacy. Ensure it aligns with your overall aesthetic by selecting a style and finish that matches your new fence. Regular maintenance, including cleaning and re-painting, will keep your fence looking its best for years to come.